Unlocking the Flow: 5 Tips on How to Increase Water Pressure in Kitchen Sink
5 Effective DIY Tips to Enhance Your Kitchen Sink’s Water Pressure in kitchen faucets

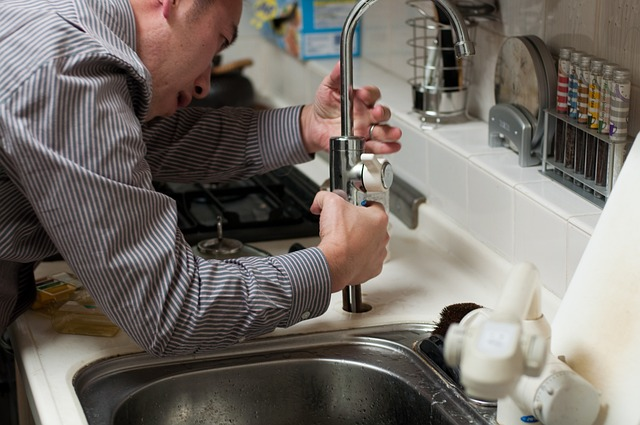
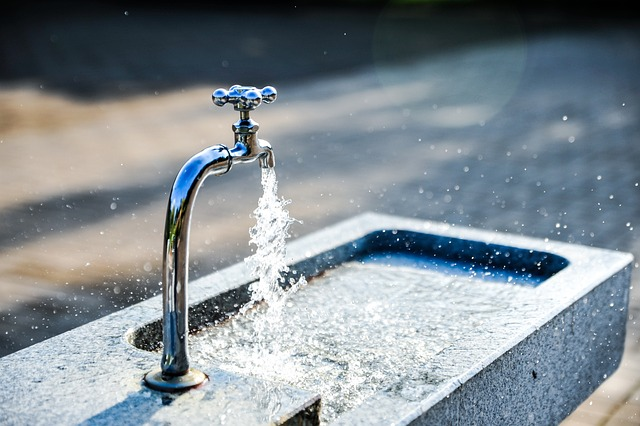
Notice Low Water Pressure?
Low water pressure in your kitchen sink and kitchen Faucet can be a frustrating daily hassle.
Poor water pressure can significantly hinder your tasks, whether you’re trying to wash dishes efficiently or fill a pot for cooking.
In this comprehensive guide on “How to Increase Water Pressure in Kitchen Sink,” we’ll delve into five practical DIY tips to help you boost water pressure and streamline your kitchen chores.
Can I Touch The Water Heater?
The exterior of most residential water heaters is designed to be cool to the touch, which means you should not get burned or injured by touching it.
There are a few important safety considerations:
Turn Off the Power/Gas: Before performing any maintenance or inspection on your water heater, shut off the valve handle. (for electric water heaters) or the gas supply (for gas water heaters). This is crucial for your safety.
Wait for Cooling: If your water heater has been running, the exterior may still be warm even after you’ve turned off the power or gas. It’s a good practice to wait for the water heater to cool down before touching it or attempting any maintenance tasks.
Use Caution: While the exterior of the water heater should not be hot enough to cause burns, it’s always a good idea to exercise caution. If you’re concerned about residual heat, use gloves or a cloth to touch the water heater.
Avoid the Relief Valve: Do not touch or tamper with the temperature and pressure relief valve (TPR valve) on the water heater. This valve is an essential safety feature, and tampering with it can be dangerous. If you suspect an issue with the TPR valve, it’s best to consult a plumbing Professional anytime
If you’re uncomfortable or uncertain about any aspect of working on your hot water supply or see other debris you are unsure of, it’s advisable to consult a licensed plumber or a professional technician who can safely inspect, troubleshoot, and perform maintenance on your water heater.
Hot and Cold Water Problems:
Hot Water Pressure Is Low, but Cold Water Flow Is Fine?
The issue is likely specific to your hot water system if you’re experiencing low hot water pressure while the cold water pressure remains normal. Here are some steps you can take to address them:
Check the Hot Water Faucet Aerator:
Similar to the cold water side, the hot water faucet may have aerator screens that can become clogged with sediment buildup. Remove the aerator from the hot water faucet, clean it thoroughly, and reinstall it.
Flush the Hot Water Heater:
Sediment can accumulate at the bottom of your water heater’s tank over time, resulting in low hot water pressure.
How To Flush the Hot Water Heater:
Turn off the power (electric) or gas supply (gas) to the water heater.
Connect a hose to the drain valve at the bottom of the heater and run it to a drain or outside.
Open the Screw Cap drain valve and allow the water to flush out for a few minutes until it runs clear.
Close the drain valve and refill the tank until the water passes before turning the power or gas back on.
Flushing the water heater should help improve the water flow of hot water and, consequently, hot water pressure.
Check for Hot Water Pipe Issues:
Inspect the hot water pipes in your plumbing system for any signs of leaky pipes, debris inside, damage, or corrosion.
If you find any issues or leaking pipes, repair or replace the affected sections of the pipes.
Consider a Pressure Reducing Valve (PRV):
Some homes have a pressure-reducing water valve installed on the hot water side to regulate and fix low water pressure. If the PRV is set too low, it can lead to reduced hot water pressure. Consult a plumber to adjust the PRV to a higher setting if necessary.
Check for Cross-Connection Issues:
Cross-connections between hot and cold water lines can occur in some cases. This can cause cold water to mix with the hot water, diluting the temperature and reducing pressure. A plumber can inspect your supply lines to ensure there are no cross-connections.
Inspect the Hot Water Heater:
If none of the above solutions improve the hot water pressure, there may be an issue with the water heater. It could be a faulty pressure relief valve, a malfunctioning dip tube, or other internal problems. In this case, it’s best to consult a professionally licensed plumber or water heater technician to diagnose and address the issue.
In most cases, you can troubleshoot and improve low pressure by following the steps mentioned above. However, if you’re unsure about any of the tasks or if the problem persists despite your efforts, seek the expertise of a professional plumber to ensure a proper and safe resolution.
Why DIY? Saving Money and Finding Easy Solutions
Before we dive into the nitty-gritty of each tip, let’s highlight the advantages of tackling low pressure issues on your own.
While some plumbing problems may require professional assistance, enhancing water pressure in your kitchen sink is often a task that can be handled by homeowners.
Here are a few compelling reasons to consider the DIY approach:

Cost-Effective: Hiring local home inspection team can be costly. You can save significant money by learning how to increase water pressure in your kitchen sink on your own.
Convenience: DIY solutions are often more convenient since you can address the issue at your own pace without waiting for a plumber’s availability.
Empowerment: Taking control of simple plumbing tasks can make you feel more confident as a homeowner and reduce your reliance on professional help for minor issues.
Now, let’s explore the five DIY methods to increase water pressure in your kitchen sink.
Here are The 5 Ways How to Increase Water Pressure In the Kitchen Sink
1. Check for Clogs or Blockages
One of the most common culprits behind low water pressure in kitchen sinks is a clogged cartridge, clogged pipe or obstructed faucet aerator.
The aerator is a small device located at the tip of your faucet, and it’s designed to mix air with water to create a steady stream. Over time, mineral deposits and debris can accumulate in the aerator, impeding water flow.
To address this issue:
Step 1: Shut off valve handle water supply to the faucet.
Step 2: Unscrew and remove the aerator from the faucet.
Step 3: Soak the aerator in a bowl of vinegar overnight to dissolve Scale. You can also use a small brush to scrub away any stubborn debris.
Step 4: Rinse the aerator thoroughly and reattach it to the faucet.
This simple maintenance can significantly affect your water pressure and should be done regularly to prevent future clogs.
2. Examine Shut-Off Valves
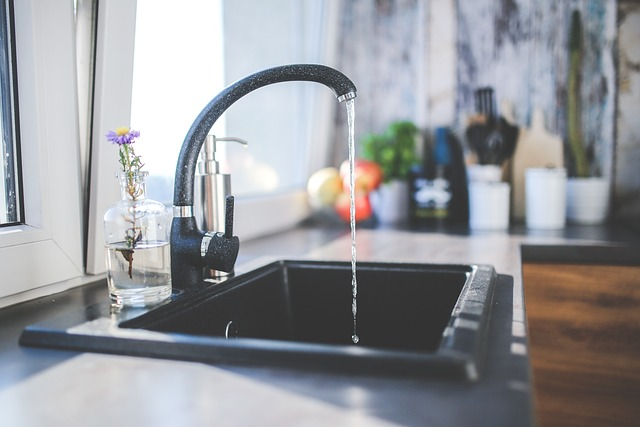
Sometimes, the solution to your low water pressure woes can be as straightforward as ensuring that the shut-off valves under your sink are fully open.
These valves control water flow to individual fixtures, including only the kitchen sink. If they are only partially open, it can restrict the water flow, leading to reduced pressure.
Here’s how to inspect and adjust shut-off valves:
Step 1: Locate the shut-off valves beneath your kitchen sink.
Step 2: Turn the valve handles counterclockwise to open them fully. Ensure they are fully open, parallel to the water supply pipe.
Ensuring the shut-off valves are fully open will maximize the water flow to your kitchen sink, potentially resolving your low water pressure issue.
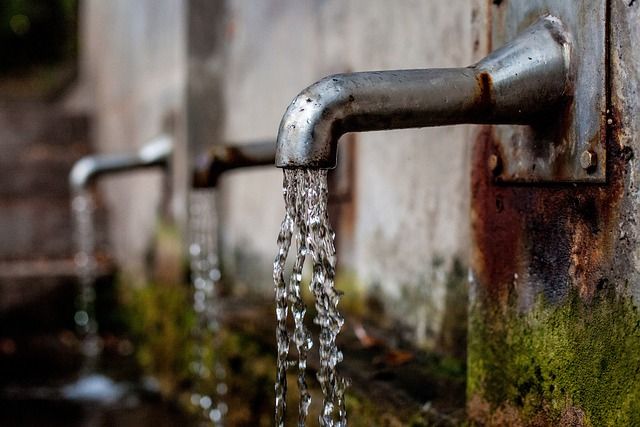
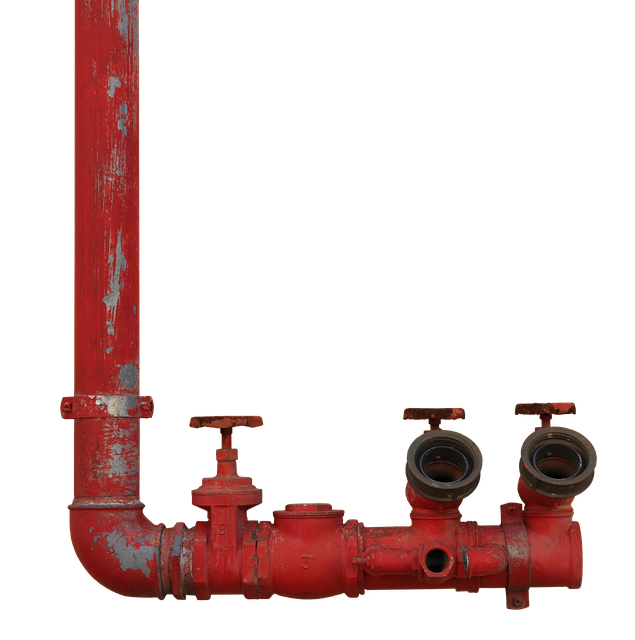
3. Inspect Pipes for Leaks or Corrosion
A Corroded or leaking pipe can also contribute to low water pressure in your kitchen sink.
A Plumbing Leak can reduce the amount of water available for your fixtures, while corrosion can constrict the pipe’s inner diameter, impeding water flow.
Here’s how to inspect and address these issues:
Step 1: Visually inspect the pipes leading to your kitchen sink. Look for any signs of moisture, small holes, water stains, or visible leaks. If you notice any, you’ve likely found the source of the problem.
Step 2: If you suspect a leak, tighten the connections or replace the damaged section of the pipe. If corrosion is the issue, consider replacing the corroded pipes with new ones.
Step 3: Turn on the faucet to check for improved water pressure. If not, move on to the next step.
Addressing pipe issues can be a bit more involved, but it’s essential to ensure the overall integrity of your plumbing system and maximize water pressure throughout your home.
4. Upgrade or Replace Pipes
If inspecting your pipes doesn’t significantly improve water pressure, consider upgrading or replacing them. This step is particularly relevant if you have older pipes with a smaller inner diameter.
Here’s how to proceed:
Step 1: Determine the type and size of the pipes currently installed. Common materials include copper, PVC, and PEX.
Step 2: Consult a professional plumber to assess the feasibility of upgrading your pipes to larger diameters. Wider pipes allow for increased water flow.
Step 3: If your plumber recommends an upgrade, discuss the cost, materials, and timeline for the project. Or ask about the tankless Water Heaters. Replacing pipes is a more complex task and may require professional assistance.
Upgrading your plumbing system can be a substantial investment, but it can also significantly improve water pressure throughout your home, not just in the kitchen sink.
5. Adjust the Pressure Regulator (if applicable)
In some homes, a pressure regulator is installed on the main water line.
This device controls the water pressure throughout your house and ensures it doesn’t exceed safe levels.
However, if the pressure regulator is too low, it can reduce water pressure, reducing flow in all fixtures, including your kitchen sink.
To adjust the pressure regulator:
Step 1: Locate the pressure regulator, usually found near the main water meter shut-off valve.
Step 2: Carefully use an Allen wrench to turn the adjusting screw or valve retaining nuts clockwise to increase the pressure setting. Make gradual adjustments and test the water pressure in your sink after each change.
Step 3: Continue adjusting until you achieve the desired water pressure. Be cautious not to set the pressure too high, as it can damage your plumbing system.
By fine-tuning the pressure regulator, you can ensure your home benefits from improved water pressure, including your kitchen faucet.
Recap and Conclusion
Learning how to increase the water pressure in your kitchen sink can significantly enhance the efficiency of your daily tasks.
Addressing this issue can save money and empower you as a homeowner.
Check for Clogged Aerator or Blockages: Regularly clean your faucet aerator mesh screen to remove mineral deposits and debris.
Examine Shut-Off Valves: Ensure shut-off valves are fully open to maximize water flow.
Inspect Pipes for Leaks or Corrosion: Use Plumbing Tape to Fix leaking pipes or replace corroded pipes to eliminate restrictions.
Upgrade or Replace Pipes: Consider wider pipes to improve Water Velocity if needed.
Adjust Pressure Regulator (if applicable): Fine-tune the regulator to achieve the desired water pressure.
However, if none of these DIY solutions work or if you’re uncomfortable with any of the tasks involved, don’t hesitate to contact a local plumbing service.